Caring For Your Shipping Container: The Ultimate Guide

Recently purchased a shipping container? We dive into our top tips for container maintenance, container security, container modifications, and more.
Congratulations on Purchasing a Shipping Container!
We’ve put together this complimentary guide to help Calebwedman customers keep their containers in top condition.
Containers are durable and can last for decades. However, they’re not indestructible and require care to ensure they remain sturdy, rust-free, and reliable for moving or storing goods. In this guide, you’ll find tips on conducting routine maintenance; keeping your container safe from thieves, pests, and the elements; modifying your container, and much more.
Questions? Visit our blog for additional resources or reach out to our customer success team contact@calebwedman.com.
Let’s get started.
Shipping Container Placement
Where to Place Your Shipping Container
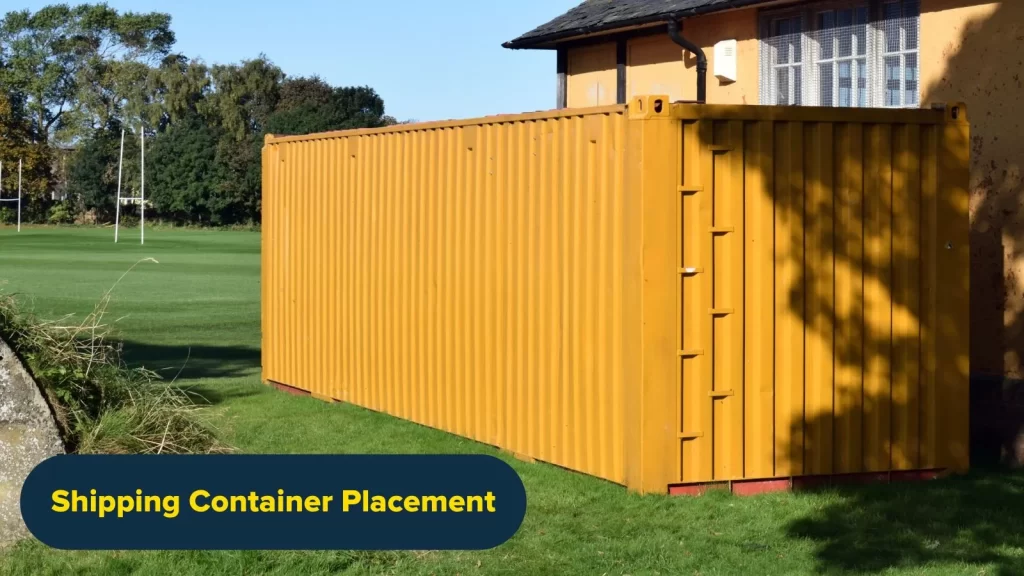
One of the most important components to caring for your shipping container is choosing the right location. First, make sure you place your container on flat, solid ground (asphalt or concrete is recommended). Having a solid foundation will keep your shipping container stable and stop moisture from getting inside from below — especially if you live in a rainy or snowy environment.
If asphalt or concrete isn’t an option and you have to place your container on a softer surface, like clay or grass, it will likely settle over time. This can compromise the container’s stability and structural integrity, forcing you to re-level your unit. To avoid this often costly undertaking, place wood blocks, railway ties, concrete blocks, or iron plates beneath the corners of your container. These reinforcements will help it stay level with weight evenly distributed.
Waiting for your shipping container to be delivered? Consult our delivery guide for more information on how to prepare for its arrival and placement.
When (and How!) to Move Your Shipping Container
In the event you need to move your container after its initial delivery, there are a few ways to do so that minimize the risk of damage or compromise to its structural integrity.
- Forklifts: Some larger models can lift a container as long as they’re outfitted to lift at least 15,000 pounds.
- Cranes: Using a crane makes it easier to place a shipping container onto a flatbed or trailer, but they require special operators or licenses. This means you may have to hire someone to handle the heavy lifting — literally.
Once your container is on your truck trailer or flatbed, you can move it yourself as long as you have a license for the vehicle and trailer type you’re using. Check the Department of Transportation Regulations in your state to find out what license or licenses you might need to move your container yourself.
Tip:
If you need to move your container to a different property altogether, the simplest, least stressful solution might be to hire a moving service that specializes in container transportation. Make sure their scope includes loading and unloading shipping containers, as some quotes may only cover transportation — not the cost of placing the container onto the truck.
Keeping Your Container Secure
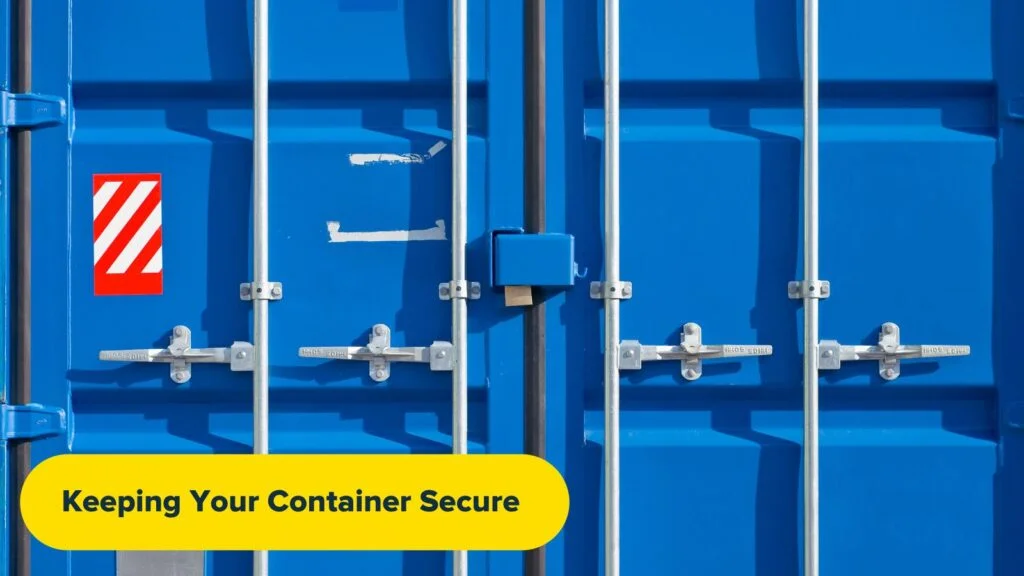
Shipping containers are built to weather the elements and keep contents secure. They’re made of COR-TEN steel, which is extremely durable and resistant to corrosion.
That said, any container’s wind and watertight characteristics can diminish over time if you don’t take proper care of your container. Here are some steps you can take to keep your container safe against the elements:
1. Block your container. This means raising it off the ground on level cement blocks to keep water from pooling around the bottom.
2. Secure your container to the ground to protect it from strong winds. One common method is to use ground plates with twist locks.
3. Stay on top of any necessary repairs and take care of rust quickly.
4. Replace any cracked seals around windows or doors as soon as you spot them.
If your priority is keeping your container secure against theft, consider taking the following steps:
1. Keep a security lock on the entrance of your container, as well as any doors when you’re not actively using the container.
2. Consider placing a lock box over your padlocks for additional protection.
3. Install a security system. You can buy one online for as little as $50.
4. Place a sticker of the security system brand on the exterior of your container to deter thieves.
5. Install security cameras or motion sensor lights on or around your shipping container.
Tip:
For more information on how to keep your shipping container secure, read our Shipping Container Security 101.
Creating a Container Care Kit
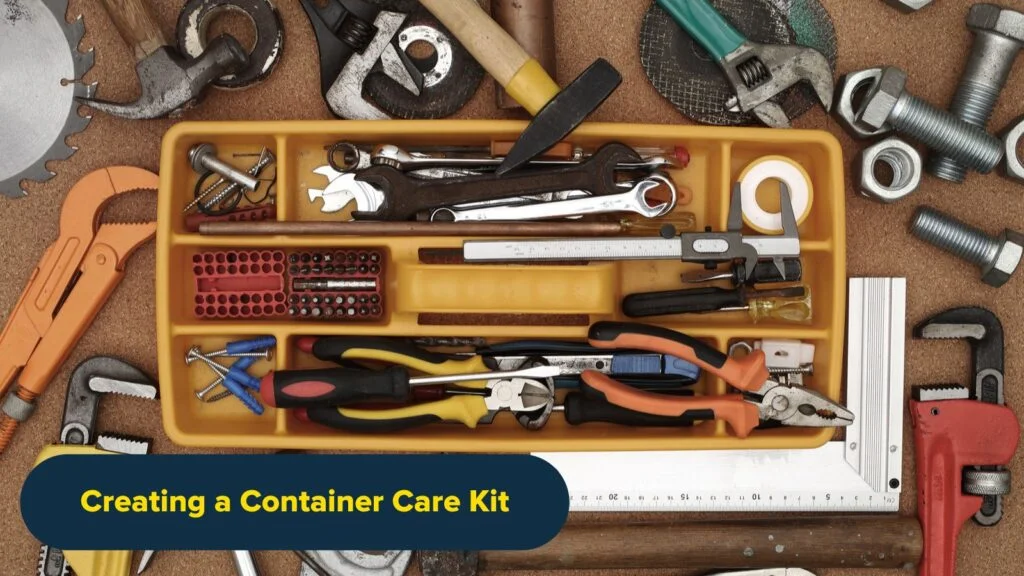
When it comes to caring for your shipping container, you can handle most of the upkeep without the need to call in a professional. We recommend keeping the following items on hand:
- Windex: Mix this with water to remove surface dirt and rust when routinely cleaning your container.
- Light bleach or commercial rust-removal solution: This should be enough to handle rust in its early stages.
- Lithium Grease: To keep your door hinges well-lubricated.
- Moisture meter: To check moisture levels in your container.
- ISO or fiber repair patches: To patch up holes, frays, and leaks — especially on metal surfaces.
General Maintenance
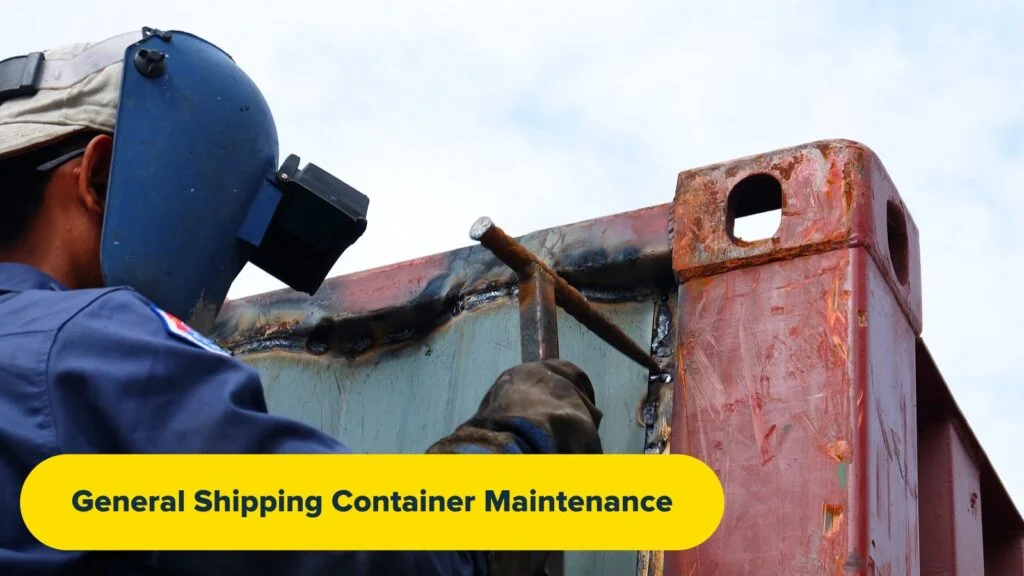
Taking care of your shipping container will help extend its lifespan and reduce the need for costly repairs. There are standard maintenance measures all containers require, like regular cleaning, rust removal, and moisture control — but some containers may need a little extra love depending on the condition they were purchased in. That said, caring for your shipping container is easy if you follow these simple tips.
Based on Container Grade
Caring for New “One-Trip” Containers
One-trip shipping containers are the newest condition you can purchase on the market. Because they’ve only completed one trip across the sea, they don’t show significant wear and tear like cargo-worthy or wind & watertight containers — though an occasional ding or scuff can be expected.
One-trip shipping containers still need to be cleaned regularly and checked for things like rust or moisture, as these issues can eventually lead to costly repairs or compromise a container’s security and durability. We recommend doing a monthly inspection of your one-trip container as a preventative measure, lubricating your door hinges and spot-cleaning with diluted Windex as necessary.
Caring for Used (Cargo-Worthy or Wind & Watertight) Containers
Any cargo-worthy or wind and watertight shipping container available for sale has spent an average of 12-18 years at sea. As a result, you can expect them to show significant signs of wear and tear — like dings, dents, scratches, and patches of surface rust.
While Calebwedman performs thorough assessments of each container prior to sale, you should still consider checking your container’s caulking and weather stripping, lubricating its door hinges, and removing any rust that may have accumulated on the exterior right away.
As part of your routine maintenance schedule, make sure the hinges on your container’s door are well-oiled to prevent sticking or bending, and consider assessing your container’s caulking and weather stripping on a regular basis. Without preventative maintenance, these elements can peel and crack over time, letting in water.
Based on Container Use-Case
How you use your shipping container also influences how it needs to be maintained. Here are a few specific use cases and what care they require.
If you’re using your container as a home:
If you’re creating a shipping container home, make sure you choose the right location. This might involve grading the land to make sure it is level. Placing your container on flat, solid ground prevents moisture from accumulating underneath it, protecting its structural integrity and keeping its base from becoming compromised. You’ll also want to make sure the roof remains clear of accumulating water, snow, or debris. Consider modifying your container to have a sloping roof that can handle large amounts of rain or snowfall.
If you’re using your shipping container for storage:
In addition to ensuring you place your container on level, solid ground and keeping the roof clear, you’ll want to make sure moisture never makes it into your storage container. Consider installing a built-in air-conditioning unit to manage humidity and moisture levels inside your container. As an additional measure, you may wish to reinforce the container’s weather stripping and caulking — just in case.
You may also want to consider adding ventilation. Containers come with 2-4 small vents fitted on their walls as standard, but they’re more for pressure regulation purposes than airflow. Adding more vents to your container won’t only help prevent moisture and rust from accumulating inside, but they’ll also help regulate the temperature within your container — a must if the items inside are sensitive to heat or cold.
Tip:
To learn more about proper container ventilation and why it’s so important, read our guide on how to ventilate a shipping container.
If you’re using your shipping container as a workshop:
If you’re planning to spend long hours working inside your container, you’ll want to make sure it’s a comfortable and safe place to work. This might involve some simple modifications, like the addition of windows, man doors, or shelving using Calebwedman’s DIY modification kits. You could also add more luxurious modifications like electricity, plumbing, or air conditioning (AC). If this is the case, stick to regular inspections and maintenance to ensure your utilities continue to work smoothly with minimal impact on the integrity of your container. And of course, if you’re working with chemicals in your shipping container, be sure to add proper ventilation.
Tip:
Close up your container when you aren’t working in it to prevent moisture from making its way inside.
If your container is serving as a retail space:
If you’re using your shipping container as a storefront or inventory storage solution, keeping the items dry and secure inside is most likely one of your top priorities. Taking steps to prevent water intrusions and manage moisture levels is key here, including inspecting caulking every season and incorporating an AC unit. You should also stay on top of rust accumulation to prevent any corrosion that might compromise your container’s walls. In most cases, all you need is some light bleach or a commercial solution to remove early-onset rust.
If you’ve turned it into a restaurant:
All the same rules apply for containers-turned-restaurants. However, if you’ve modified your container to make dining easier for your guests — like adding plumbing, electricity, and an air-conditioning unit — definitely stay on top of inspections and maintenance as needed.
Tip:
Check your drain lines and your electrical and plumbing connections regularly to avoid expensive repairs down the road.
Lorem ipsum dolor sit amet, consectetur adipiscing elit. Ut elit tellus, luctus nec ullamcorper mattis, pulvinar dapibus leo.
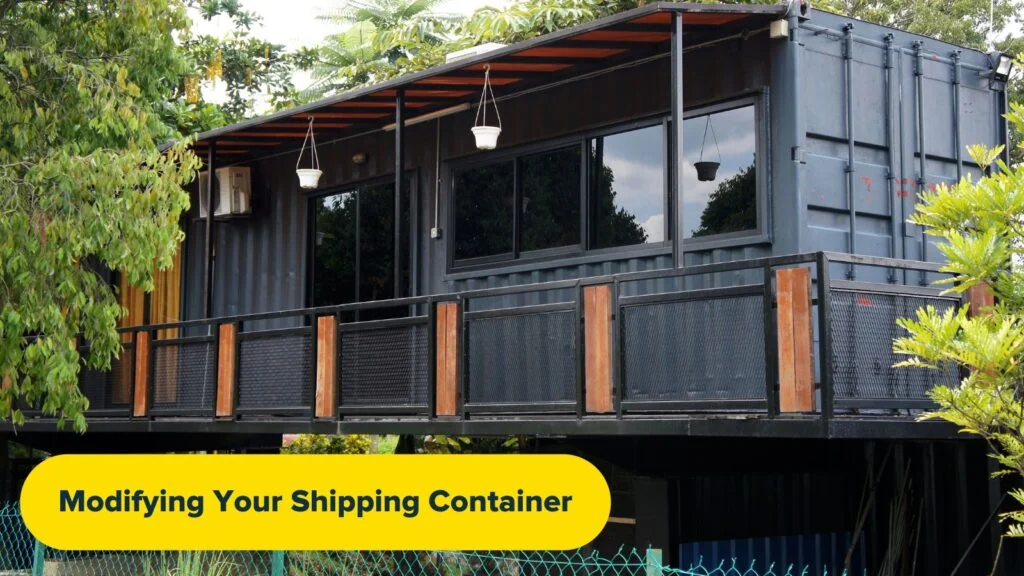
Containers are versatile on their own, but they can really be transformed with modifications — and the possibilities are endless. You can enlist the aid of a professional company to modify or even completely customize your container, or you can go the DIY route.
Calebwedman offers all kinds of mod kits if you prefer to handle the process yourself. These kits contain elements needed to convert a container into other use cases, like an office or home. Common shipping container modifications can include elements like windows, roll-up doors, man doors, shelving units, vents, and lock boxes.
Electricity, Insulation, and Plumbing
Some shipping container use cases — like tiny homes, restaurants, and retail stores — require modifications that will make the spaces more comfortable for living or regular use by people. These can include electricity, insulation, and plumbing.
Adding electricity to your shipping container
Shipping containers can easily be modified to have electricity. Most electrical packages for containers include strip lights, air conditioning, outlets, wiring, and even phone or data lines. We recommend using a licensed electrician with experience modifying shipping containers for this kind of work.
Tip:
Depending on the climate in your area, consider installing solar panels on the roof of your container as a green, low-cost source of power.
The cost of adding electricity depends on how big your container is and how complex the electrical modifications are. According to Containing Luxury, a celebrated luxury container home builder based in Florida, the average cost for adding electricity to your shipping container is around $1,500.
Adding insulation to your shipping container
Insulation is a critical step in controlling the climate and condensation within your shipping container. There are several different insulation options you can choose from for your shipping container, including:
- Styrofoam panels (also known as polystyrene): Offers the lowest degree of insulation but is affordable, easy to install, and doesn’t require framing. It’s ideal for basic storage containers.
- Batt insulation: Offers more insulation than styrofoam panels and is easy to install, yet slightly more expensive and requires framing. It’s ideal for container offices and living spaces.
- Spray foam insulation: Comes in multiple degrees of insulation levels and requires special equipment. It’s ideal for temperature-sensitive equipment enclosures and also works as a sound barrier.
- Mineral wool: Offers great insulation, is non-flammable, and water-resistant, but requires framing and can be more cumbersome than batt insulation. It’s ideal for living spaces and applications where non-flammable materials are necessary.
- InSoFast: Developed injection-molded, closed-cell insulation panels specifically for shipping containers and tailored to different climates.
Pricing for all of the above-mentioned types of insulation can vary based on the size of your container, how many parts of it need insulation, and the location of your container. For example, colder climates require more installation, which can drive up your overall costs. Generally, though, you can expect an average insulation job to land somewhere around $2,500 for just the walls. This cost typically rises to about $3,000 if you add insulation to the flooring.
Adding plumbing to your shipping container
Want to add plumbing to your shipping container? As long as you have a water source, you can. In fact, the process is very similar to installing plumbing in a traditional home. The biggest difference is how you position and install the drainage lines, which often depends on your location and the land you have placed your container on. Unless you have prior experience in the field, we recommend hiring a licensed plumber to handle this work.
Costs here will be largely influenced by the amount of labor required, necessary ground excavation, and the pricing of pipes to pull the water. You’ll also have to pay a water contracting company. That said, having plumbing inside your shipping container is crucial if you want to create a livable tiny home or container restaurant.
We recommend planning your plumbing before you design the layout of your shipping container home or restaurant, as you’ll want to have elements like bathrooms and kitchens close to the water source.
Identify where sewer lines connect with the main sewage line in the area you’ve decided to place your shipping container home, as you’ll need sewage and septic in order to have an efficient and effective plumbing system.
To get a holistic breakdown of labor and pricing costs, check out this informative video from our friends at Containing Luxury.
If You Need Extra Help

Calebwedman’s customer success team is on hand to provide guidance and resources on choosing the right location for your container, modifying your container, and keeping it in tip-top shape. If you have any questions about your new container, please don’t hesitate to reach out: contact@calebwedman.com
