How to Start a Shipping Container Farm
Get your shipping containers from Calebwedman. Find out how you can convert them into shipping container farms, greenhouses, and gardens.
Let’s face it — farm-to-table food just tastes better! There’s nothing quite like savoring freshly harvested, homegrown produce. And while not everyone can cultivate their own acreage, folks around the world can now grow fresh fruits and vegetables inside shipping container farms.
You read that right: shipping container farms.
From affordable housing to multi-story marketplaces, shipping containers are being used to solve a slew of environmental and societal challenges — and food production is no exception. The U.S. is losing an average of over 1.9 million acres of farmland per year — mainly due to expanding suburbs and redevelopment fueled by a growing demand for housing.
So if farmland is depleting, but our population is growing — where will our fresh produce come from?
Enter shipping container farms. These small-scale, anyplace growing hubs can help solve food deserts by bringing fresh and wholesome produce closer to communities that need it.
Shipping containers allow farmers to create a controlled growing environment where factors like temperature, moisture, and light can be carefully monitored and adjusted as needed This eliminates many of the challenges of traditional farming and increases the quality and consistency of crop yields.
What makes shipping container farms unique is that they’re not exclusive to professional farmers. Hobby farmers and hardcore gardeners can also embrace the container farm trend and create their own private hydroponic gardens.
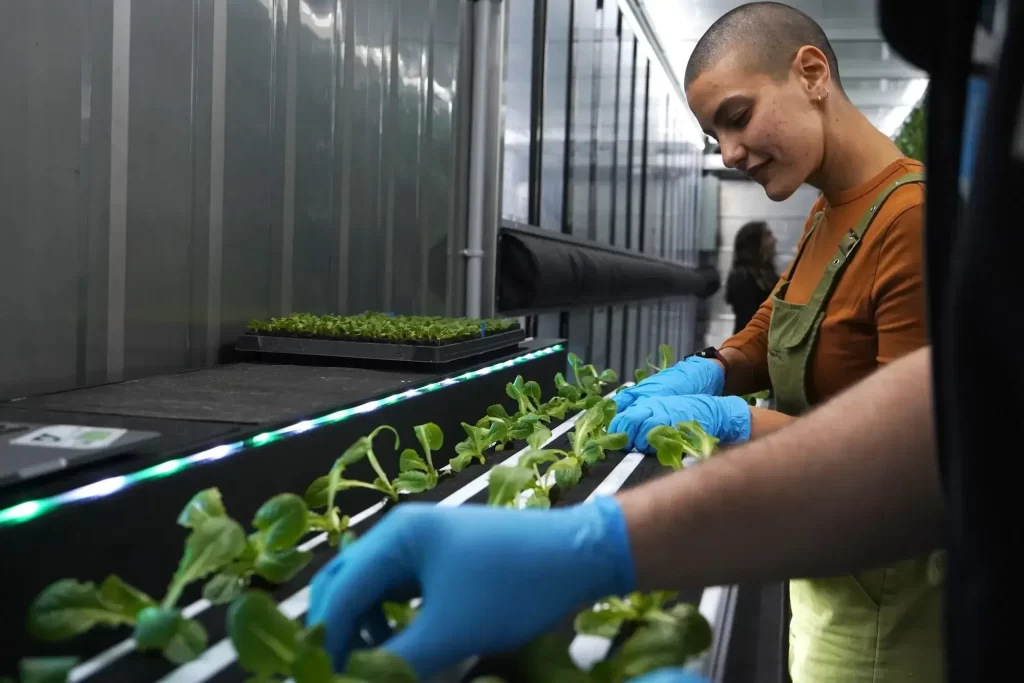
Once your container is fully modified to enable farming, it’s time to pick the plants you want to grow. Hydroponic grow systems can produce everything from herbs to mushrooms, vegetables to flowers.
Keep in mind that certain plants require pollination to flourish. Outdoors, this is usually handled by bees, birds, butterflies, bats (yes, really), and even the wind. Of course, you won’t have any of these elements in your shipping container farm — so you’ll have to rely on hand pollination to help these plants thrive.
As a quick reference, the following common plants require hand pollination:
- – Cantaloupes
- – Cucumbers
- – Peppers
- – Pumpkins
- – Squash
- – Watermelons
What Are the Benefits of Shipping Container Farms?
1. Container Farms Enable All-Year Farming
You can control the interior environment of your shipping container farm — so you can grow crops year-round no matter what the weather’s like outside.
2. Container Farms Provide Better Security
Container farm crops aren’t just protected from the elements — they’re also safe from insects, pests, and invasive plants. Containers can also be modified with locks and other security measures, further protecting your product from any green-thumbed thieves that want to dig up your hard work (if you’re especially worried about thieves, read our article on shipping container security).
3. Container Farms Can Be Placed (Pretty Much) Anywhere
Love city life, but dream of growing your own produce? No problem. A shipping container farm lets you grow crops with just 320 square feet, and it can be placed pretty much anywhere — an alley, a parking spot, an empty lot…the possibilities are endless. Considering how versatile they are, it’s no wonder containers are leading an urban farming revolution!
4. Container Farms Can Be Moved Around
Shipping containers are designed to ship consumer goods across land and sea, so they’re easy to move from one place to another. If you decide to uproot and move elsewhere, you don’t have to abandon your hard work and start from scratch. All you have to do is hire a flat-bed or tilt-bed truck to bring your container to your newest location and offload it there.
5. Container Farms Save Water
According to the National Park Service, a shipping container farm with hydroponic grow systems uses up to 10 times less water than a traditional farm with field crops.
There are clear rewards to growing your own crops in a shipping container farm — and getting started is easier than you might think. Let’s dig in.
How to Start a Shipping Container Farm
So you want to set up your own shipping container farm and grow like a pro. You have two options for getting started.
Option one is to purchase a ready-made vertical farm through a company like Freight Farms. These pre-assembled container farms don’t require large amounts of capital, land, or agricultural knowledge — and they also come with apps for monitoring crops and connecting to other farmers. Practically anyone can join the movement to grow their own food — all they need is funding and a suitable site. If you’re a hobby farmer or new to the whole “grow-it-yourself” movement and are looking for convenience, this might be the right option for you. Learn more about Freight Farms’ pre-fab container farms here.
The downside, of course, is the upfront cost. Just like prefab shipping container homes, pre-made shipping container farms have a premium price tag versus going the do-it-yourself route.
If you’re ready to roll up your sleeves and take on container modifications yourself, you can design and develop your own vertical farm from the ground up. (We’ll focus on this option for the remainder of this guide.)

Find the Right Shipping Container
Choosing the right shipping container is the difference between a bountiful harvest and a failed farm. The first thing you need to do is consider how much space you have to work with.
The two most common container sizes are 20ft and 40ft shipping containers. Which size container you go with (or how many of them you purchase) will depend on how much room you have for your container farm.
You should also consider the vertical height of your vertical farm: A standard-height shipping container is 8’6, whereas a high-cube container is 9’6. (Note: 20ft high-cube containers can be difficult to source due to demand and scarce supply — so if you’re building your container farm on a time crunch, we’d recommend skipping this choice.)
You can read more about container conditions in our container buying guide.
Creating Your Shipping Container Farm
Once you’ve purchased your shipping container (which has growing potential equivalent to two acres of farmland) it’s time to start working on the container modifications that will transform it into an ideal growing environment.
Here are some of the mods you’ll need to make.
1. Add Container Ventilation
Growing plants in an enclosed environment creates humidity — and too much humidity can cause problems like mold, mildew, and wilted crops.
Fortunately, growing crops in a container means you can control conditions inside, including moisture. To minimize humidity in your shipping container farm, simply add passive vents (like louver vents) and active vents (like extractor fans) to the walls of your shipping container. These will improve airflow and reduce moisture build-up.
If you don’t have any plans for the container’s roof (like adding solar panels), you could consider adding a turbine vent. Turbine vents use wind power to pull humid air out of the container — almost like sucking air through a straw.
2. Add Container Insulation
Another way to minimize humidity is to add insulation. Insulation can stop condensation from building up on your shipping container’s corrugated steel walls. Excessive condensation will increase the interior environment’s humidity, making your farm feel more like a rainforest — an environment that may work for some crops, but not all.
Insulating your shipping container walls can also help regulate the interior temperature so that your farm isn’t influenced by the weather outside. That’s why you can find shipping container farms everywhere from the Alaskan tundra to the Egyptian desert. With the right insulation, you can grow plants all year long — anywhere in the world!
Once you’ve insulated the interior of your shipping container farm, cover it with white vinyl walling. White vinyl is light-reflective, which will help you save on your monthly energy bills. It’s also waterproof and mold-resistant.
3. Enable Temperature Control
Insulation won’t quite be enough to regulate the inside temperature of your shipping container farm. You’ll also need to install a wall-mounted HVAC unit to help you moderate the temperature for optimal crop-growing.
4. Hook Up to Utilities
You can’t grow crops without clean water, which means you’ll have to connect your container to a nearby plumbing system. You’ll also need to hook your shipping container up to the electrical grid so that you can run lighting systems, temperature controls, and other electronics crucial to growing plants.
5. Install Grow Lights
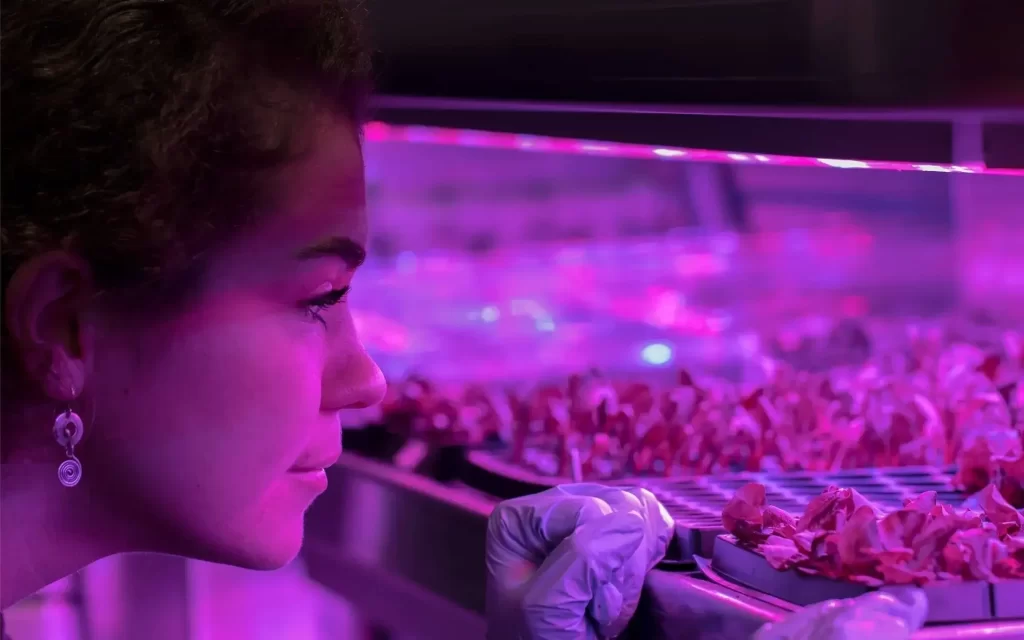
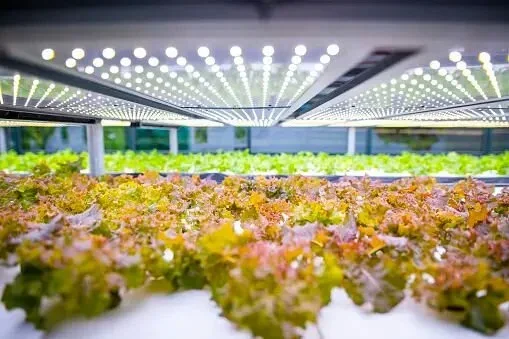
Installing grow lights is another essential step for building and maintaining a successful shipping container farm. These specialized light systems can substitute natural sunlight, allowing plants to go through photosynthesis and flourish indoors.
6. Add Hydroponic Systems
Hydroponic gardening is the best method for growing plants in an enclosed shipping container. To get growing, you’ll need to purchase hydroponic gardening towers and shelves. Because they’re thin and tall, they’ll also save you valuable floor space and help you maximize the square footage of your container farm.
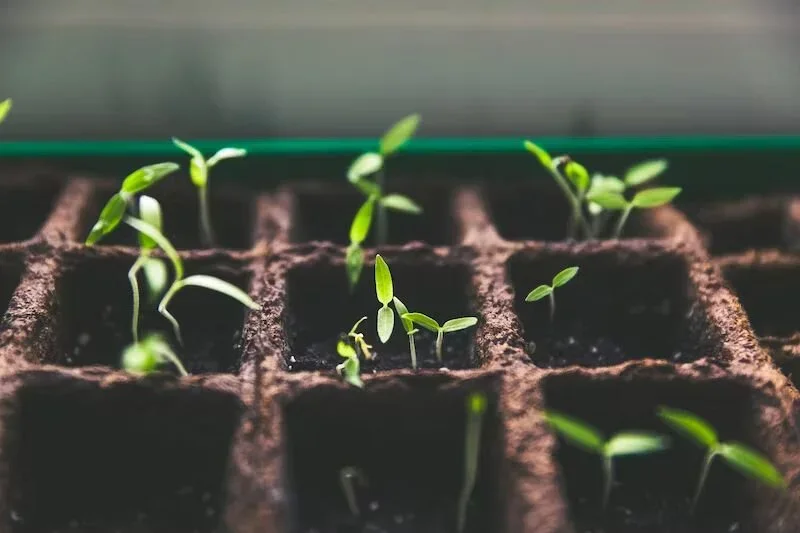
7. Choose Something to Grow
Beyond Farms: Shipping Container Gardens
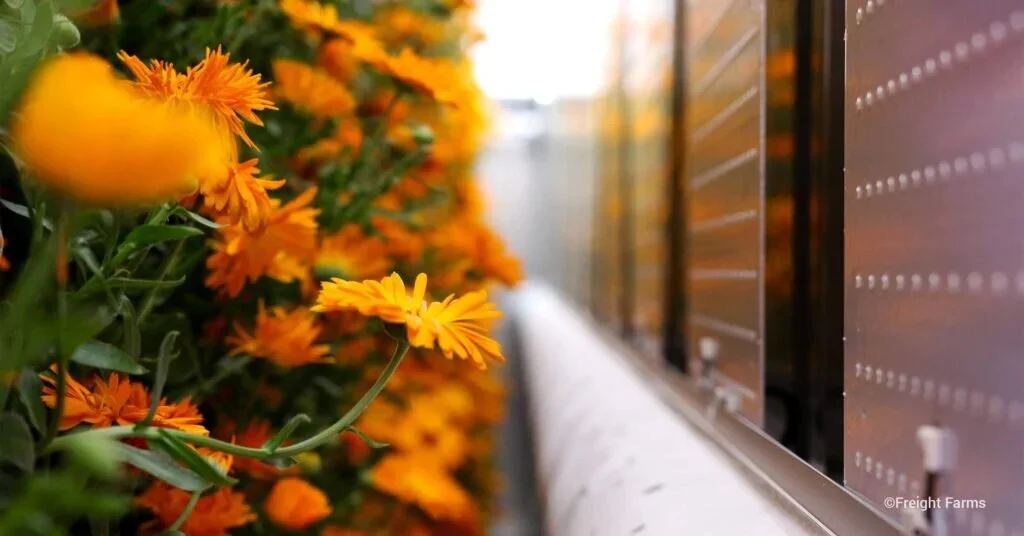
Inspired to grow something other than produce? You could set up a shipping container garden instead of a farm. You’ll follow the same setup guidelines for a garden that you would for a farm — the only difference is what you grow.
A container garden can supply you (and your neighbours!) with kitchen herbs year long — or produce an array of rosette-winning flowers, from orchids to irises to chrysanthemums.
Beyond Farms: Shipping Container Greenhouses
Why stop at growing plants inside of your shipping container? If you want to double your growing efforts, you can use the interior of your shipping container as a farm or garden and turn the rooftop into a functional greenhouse.
Check out this shipping container greenhouse at Seven Hills High School in Sydney, Australia. The school converted a 20ft shipping container into a container farm — then transformed the container’s rooftop into a greenhouse, using natural sunlight to grow cherry tomatoes throughout the year.
Turning shipping containers into container farms is changing the face of modern agriculture. Accessible to both professional and hobby farmers and horticulturists, these compact, easy-to-modify units offer a wide range of benefits. Not only do they let you maximize space, but they also require less water than traditional farms and support growing all year, anywhere in the world.
Container farms are empowering communities in food deserts and making it easier for others to live more sustainably by providing people with fresh, locally grown food with a fraction of the environmental impact. In a world grappling with urbanization, climate change, and food scarcity, container farms continue to serve as a unique, effective solution.
Interested in starting your own container farm? It starts with the right container. Speak with a container specialist today.
